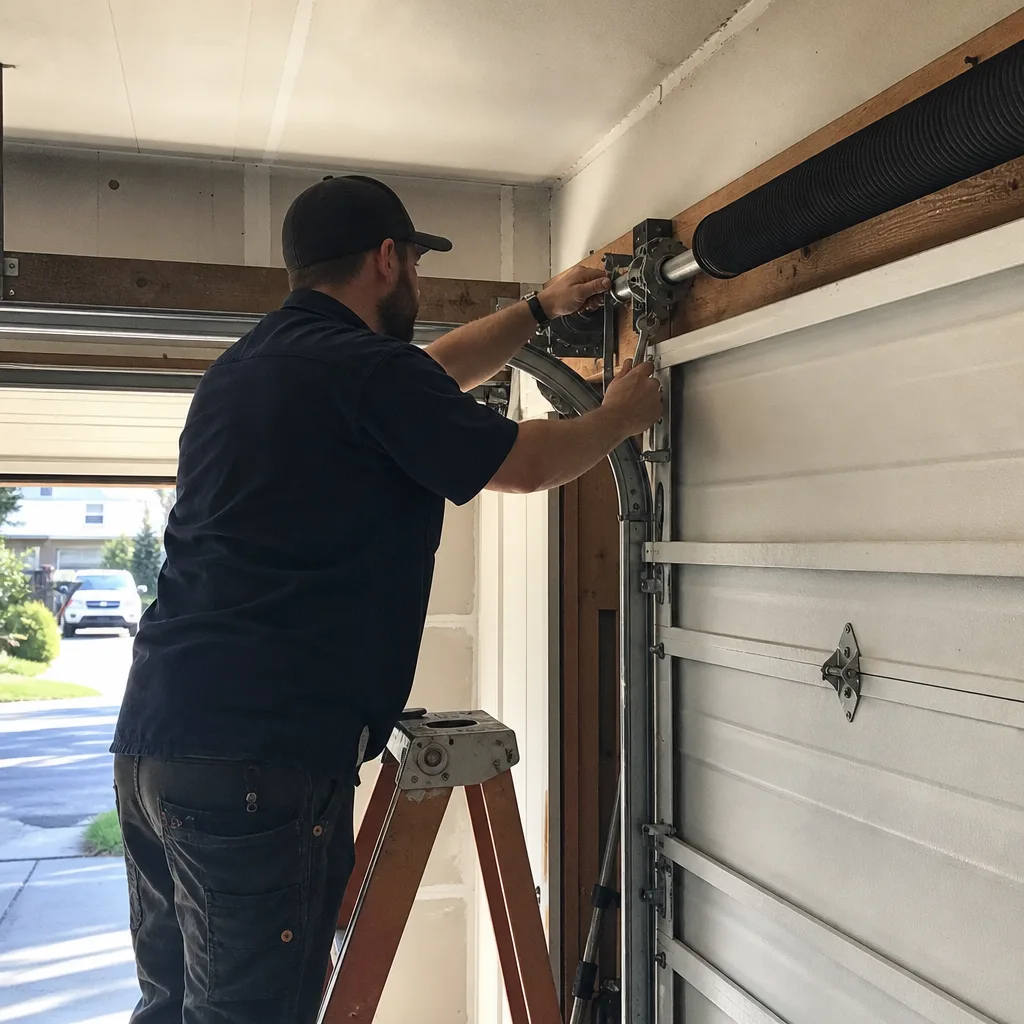
Last updated November 22, 2026
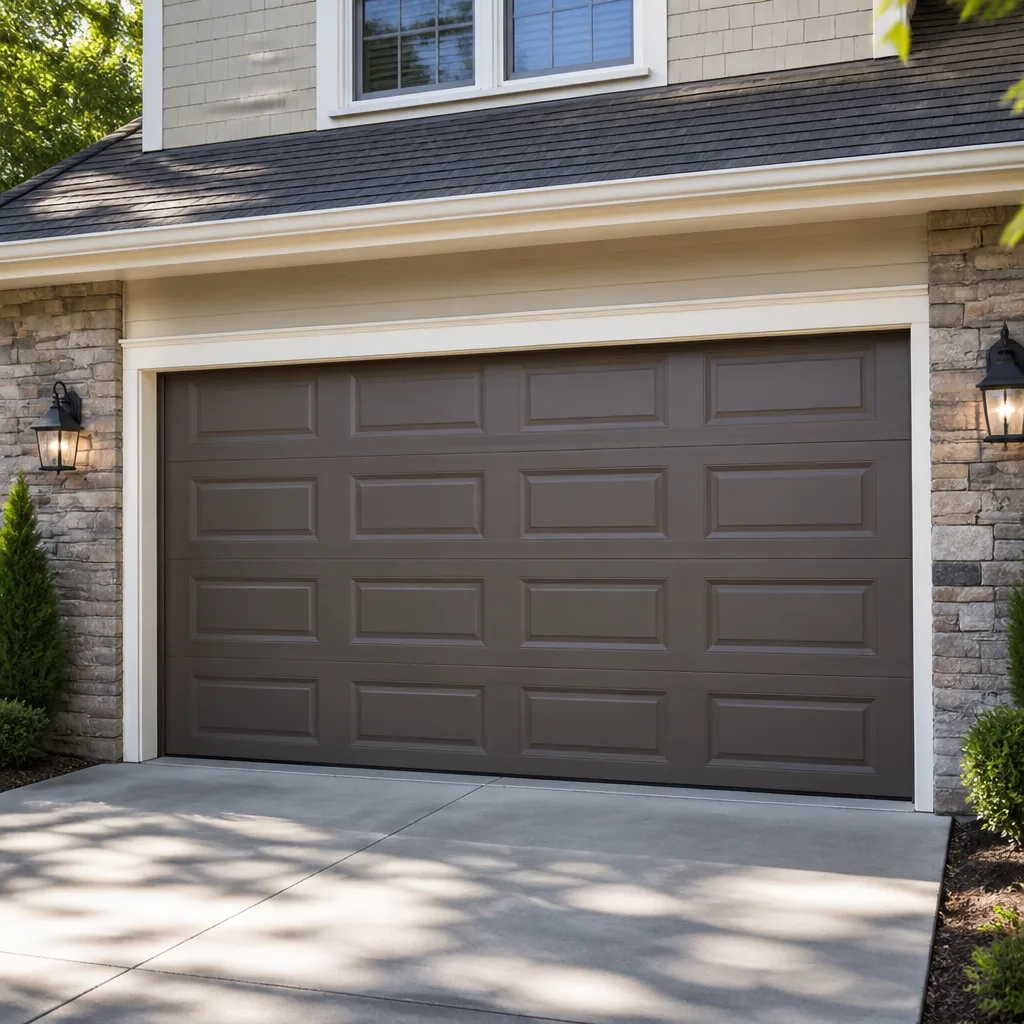 Raised-panel steel
 Carriage house
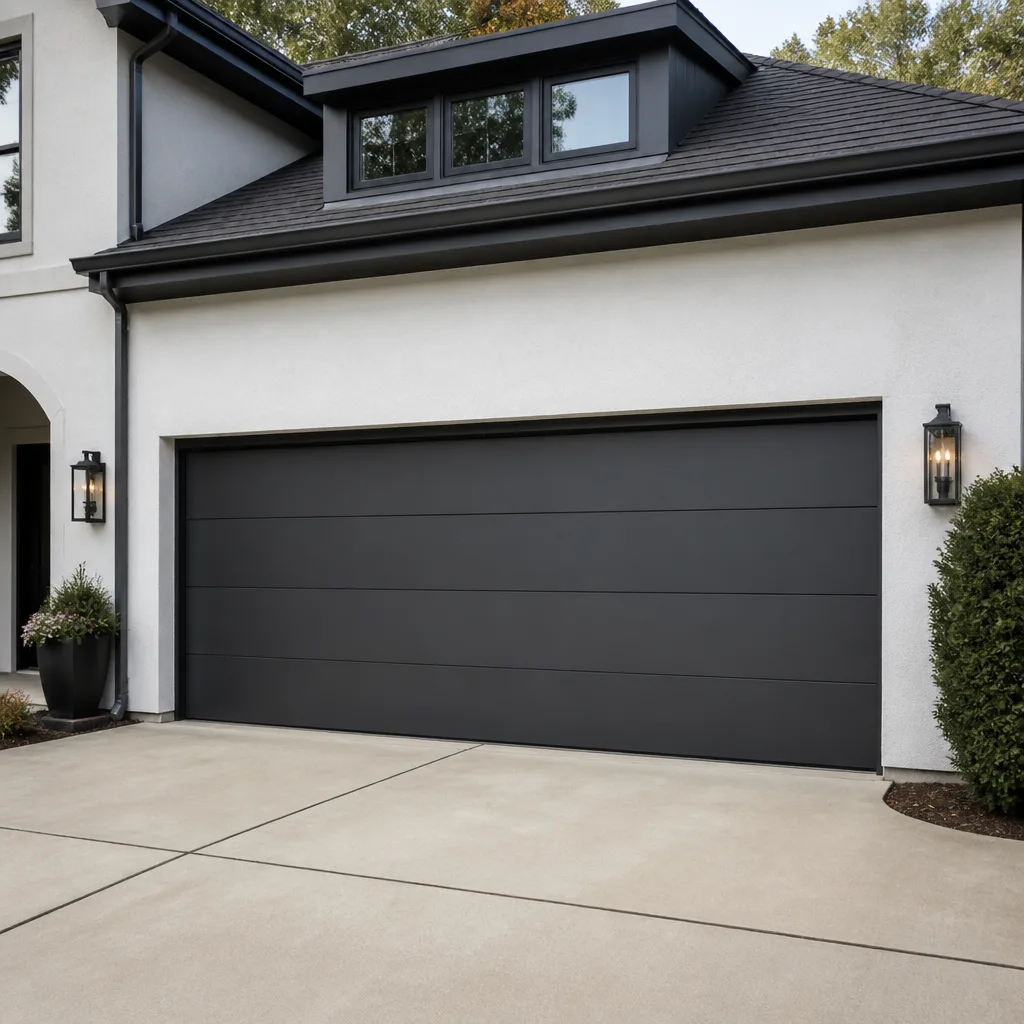 Modern flush
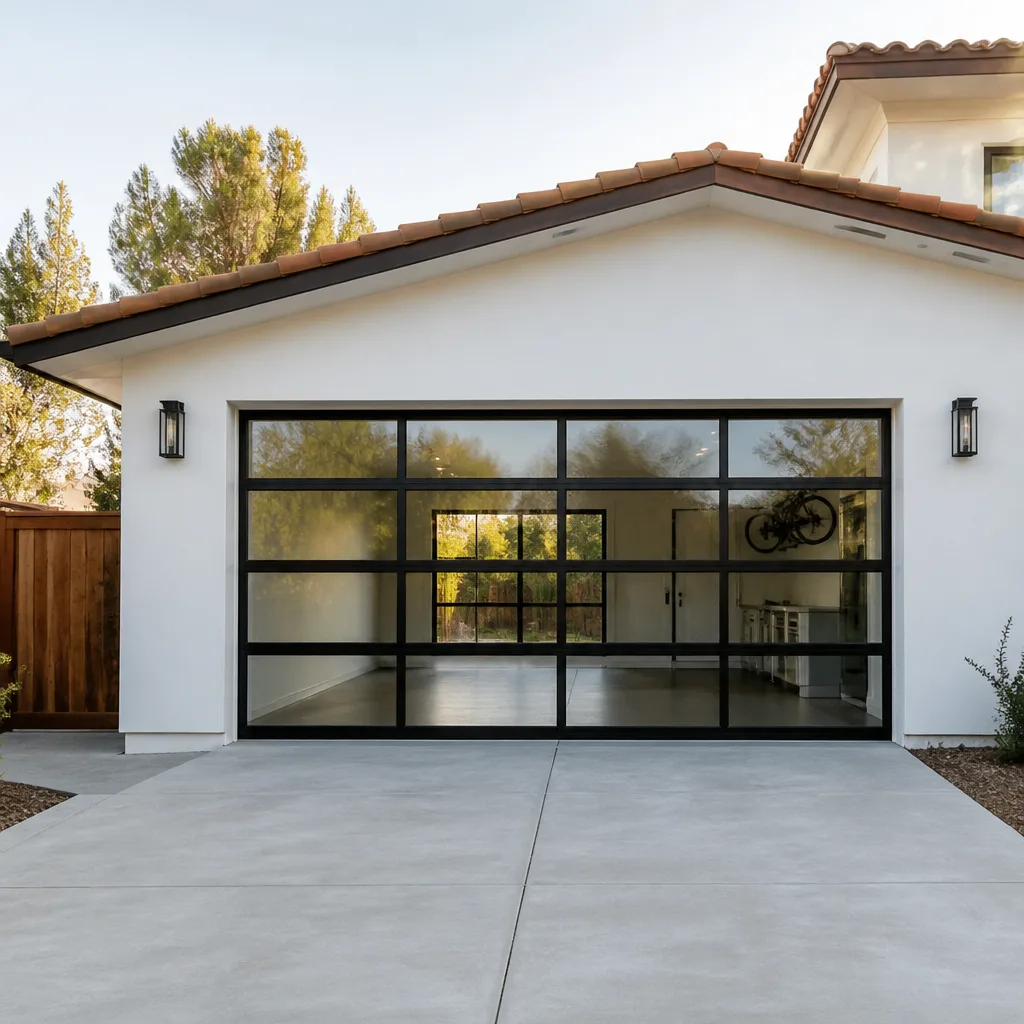 Full-view glass
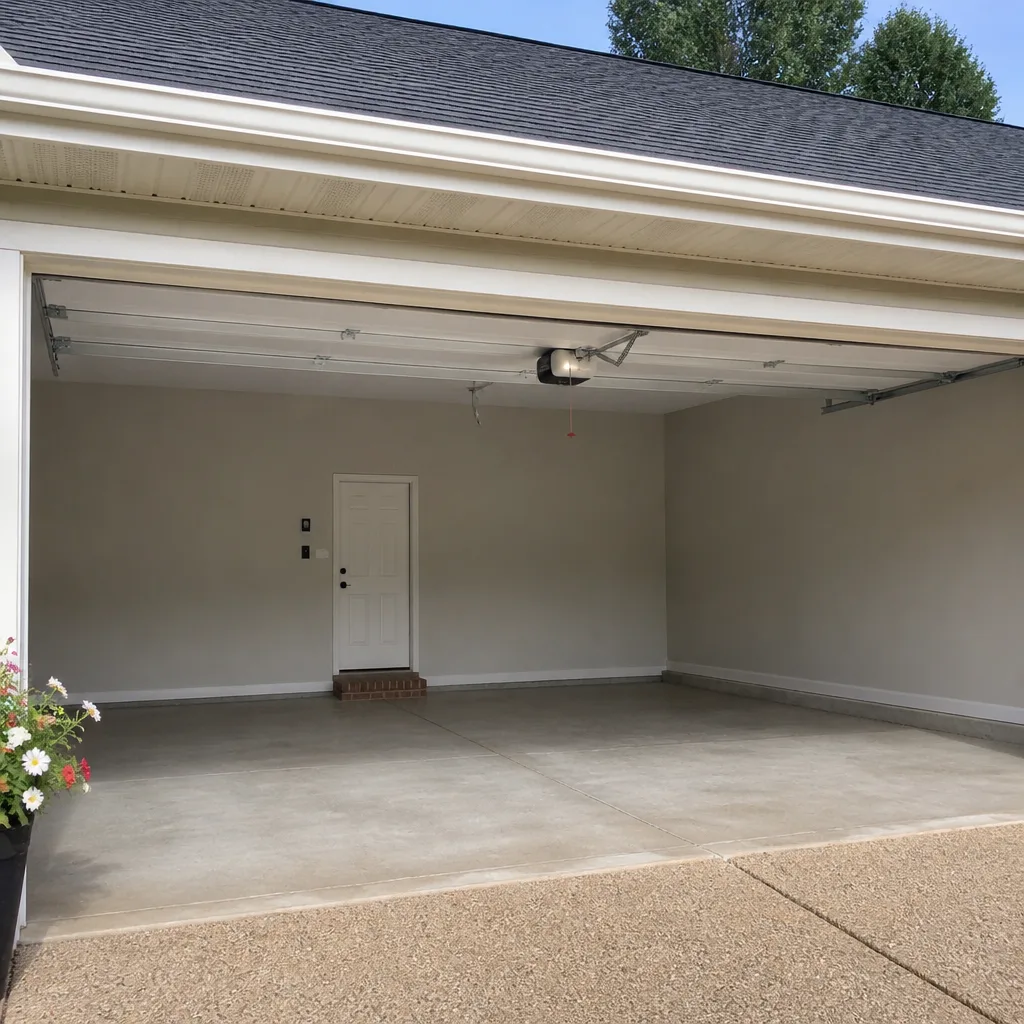 LiftMaster openers
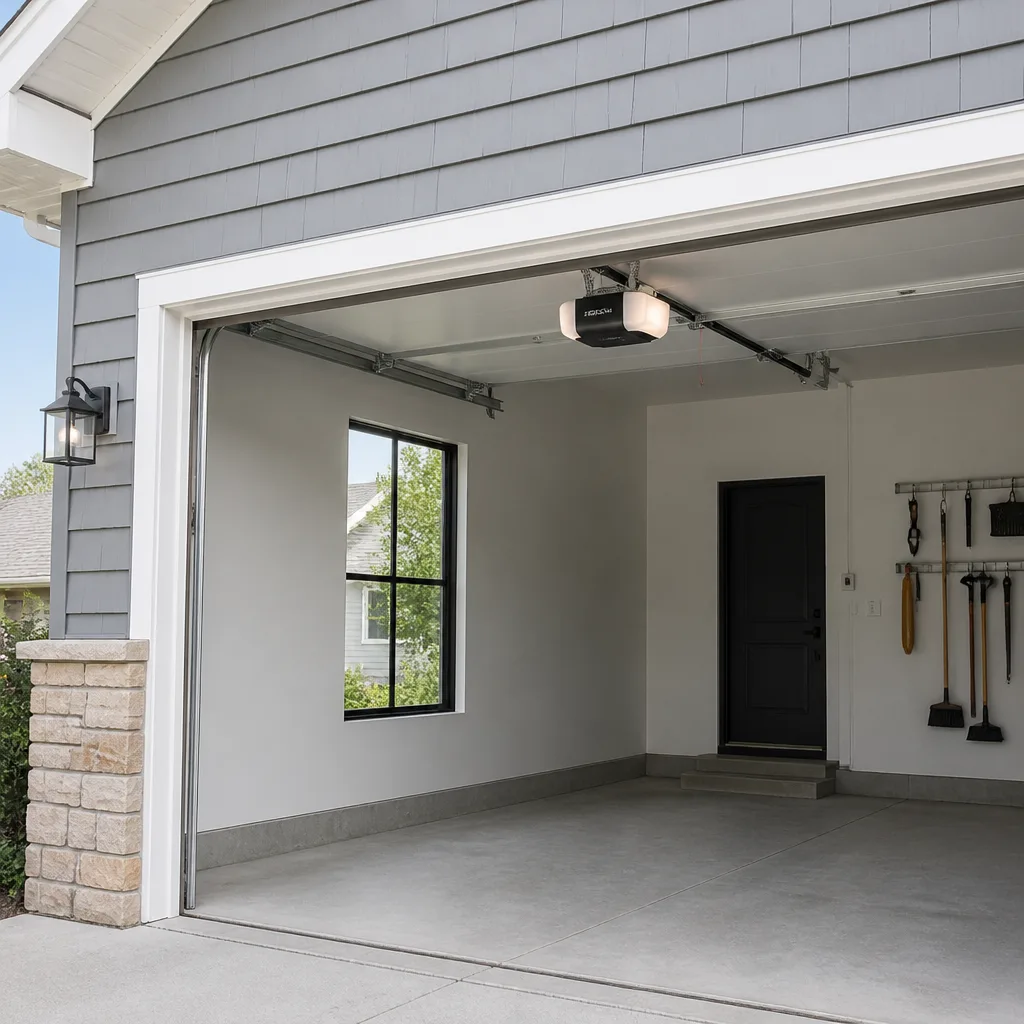 Chamberlain openers
Full 25-point door and opener safety check with every visit - springs, cables, rollers, tracks, and your LiftMaster or Chamberlain opener included
You get a price before we start. It does not change when the pro arrives.
Get your free estimateGarage Door Repair Maintenance Checklist for Toms River Homeowners
Most homeowners assume a torsion spring snaps because it got old. In our experience, the more common cause is quieter than that: a cable drum that was never lubricated, letting one side of the door run slightly heavier than the other for a couple of years until the coil tired of carrying the imbalance. The spring takes the blame. The drum caused it. This guide walks Toms River homeowners through the actual tasks a garage door technician performs on a maintenance visit, with the products, intervals, and inspection points that matter. You’ll learn what to check monthly, quarterly, and annually, which lubricants belong on which parts, and how to document each inspection so you can spot a part wearing out before it fails.
Quick Answer
Garage door maintenance in Toms River follows a simple rhythm: monthly safety and balance checks, quarterly lubrication and hardware tightening, and an annual full-system inspection covering springs, cables, rollers, and the opener. The three tasks that prevent the most expensive breakdowns are lubricating hinges and rollers, testing the auto-reverse with a rigid object, and watching the door travel for wobble or uneven speed. Skip them and you’re deferring a repair until it becomes an emergency call.
Styles & brands we work with
- Raised-panel steel
- Carriage house
- Modern flush
- Full-view glass
- LiftMaster openers
- Chamberlain openers
Table of Contents
- Why a Real Checklist Beats a Quick Visual Once-Over
- Monthly Tasks: Safety and Balance Checks
- Quarterly Tasks: Lubrication and Hardware
- Annual Tasks: The Full-System Inspection
- Which Lubricants Go Where and What Never to Use
- How to Read Cable Tension and Spot Uneven Wear
- Brand-Specific Notes: LiftMaster, Chamberlain, Genie, and Others
- Documenting Each Inspection for Trend Tracking
Why a Real Checklist Beats a Quick Visual Once-Over
Sanding around a Toms River garage door every spring and calling it maintained misses the point. The parts that fail first are the ones you can’t see from the driveway with the door down: the torsion cable wrapping the drum, the bearing plate at the spring anchor, the bottom roller brackets where rust quietly seizes a wheel. A real checklist names each of those parts and gives each one a check, a lubrication interval, and a warning sign to watch for. That’s the difference between a maintenance routine and a maintenance routine that actually prevents emergency repairs.
Pine Lake Park homeowners live with a specific set of forces a checklist needs to account for. Summertime humidity swells wood door panels and thickens lubricant on rollers. Winter temperature swings work on the metal of a steel door and stress the adhesive in insulated panel sandwiches. The salt that road crews put down in January travels into the garage on tires and splash, and it does the same slow damage to cable ends and hinge pins that it does to a car’s undercarriage. None of that requires a special product. It requires checking those specific points on a calendar instead of waiting for a symptom.
When you phone Toms River Garage Door Repair Co, the maintenance we perform follows the same sequence every time so the inspection is repeatable from visit to visit. Repeatability is what lets a technician spot that a cable was tight six months ago and has since slackened. If the process changes every time, so does the baseline.
What Good Maintenance Actually Prevents
- A snapped torsion spring after years of uneven load from a dry drum
- Cable derailment, which usually also takes out a track section
- Roller flat-spotting, which makes the door loud and shakes the opener trolley
- Opener gear and force-setting damage from trying to lift a heavier door than it was tuned for
- A safety reverse that no longer trips, which is the one failure that puts kids and pets at risk
Monthly Tasks: Safety and Balance Checks
Monthly checks take about ten minutes and don’t need tools beyond a rigid object and your own two hands. The point is to catch a change before it develops into a mechanical problem. Don’t skip these because the door “seems fine” – it seems fine right up until the moment it doesn’t.
- Test auto-reverse with a 2×4. Lay a scrap of 2×4 flat on the floor in the middle of the opening and run the door down with the opener. The door should contact the wood and reverse back up. If it presses down on the block, or stops without reversing, the opener’s force setting or safety sensors need attention.
- Test the photo-eye sensors. With the door open, wave an object in front of the two small sensors mounted near the floor on each side of the track. The door should refuse to close. If one sensor’s indicator light is dark, the beam is broken or the eye is misaligned.
- Check the balance. Disconnect the opener by pulling the red release handle, then lift the door halfway by hand. Let go. A properly balanced door holds its position. A door that falls on its own is carrying more load on one side than the other, often a sign of a tired spring or a cable under unequal tension.
- Watch the door travel. Run the door up and down from the wall button and watch where the panel edges meet the tracks. If one side lags behind the other, or the door shudders as it passes one spot, note where it happens. That spot is usually where a roller is sticking or a track has picked up a dent.
- Listen. A grinding, scraping, or popping sound has a mechanical cause. Note whether it happens going up, coming down, or at a specific height. That detail tells a technician a lot before they even arrive.
For Toms River homes, checking in July and January is worth doing even if you run the full monthly list otherwise. Those are the two months the door goes through the biggest humidity and temperature swings, and anything marginal in the rollers or cables will show up then.
Quarterly Tasks: Lubrication and Hardware
Quarterly maintenance is where most homeowners either do the right thing or make things worse. Lubrication is the single task that most extends the life of a garage door, and it’s also the one where the wrong product creates problems you wouldn’t otherwise have. We’ll cover exact products in the section below; this is the walkthrough of where they go.
Do the quarterly pass with a clean rag, a step ladder, and the products listed further down. Work from the top of the door down, since gravity will drip anything that runs.
- Lubricate hinges at the pivot points. A small dab at each hinge knuckle, on both the door side and the jamb side. Use a lithium or silicone-based grease, not oil. Wipe off excess so it doesn’t collect grit.
- Lubricate rollers, never the tracks. Put a drop on the stem of each roller, above the wheel. Rollers ride in the track, they don’t need the track itself greased. Greasing the track is one of the most common mistakes we see and it attracts dirt and salt until it gums up.
- Lubricate the torsion springs with the correct product. Use a silicone or lithium spray meant for torsion springs. A single light pass along the coil and the drum bearing is enough. Never WD-40, never motor oil.
- Tighten hinge, bracket, and track bolts. A quarter to half turn where the bolt feels loose. If a bolt keeps coming loose, mark it with a small dot of paint and check next quarter; a repeat means a bushing or the hardware itself is worn and should be replaced.
- Check weatherstripping at the bottom seal. Toms River road salt and rain take a toll on the rubber seal at the bottom of the door. If it’s ragged, torn, or no longer compressing against the floor, replace it. A bad seal lets water and pests into the garage all year.
When the switch from repair to replacement comes up, this is the work a technician does on a garage door repair visit as part of a full tune-up. A single appointment covers the same list.
Annual Tasks: The Full-System Inspection
Once a year, the door deserves the inspection that goes beyond the checklist items you do yourself. The annual pass is the one that combines safety verification with a mechanical survey of the parts you can’t reasonably check from the ground. In Toms River, we recommend this be done going into fall, before winter stress on cables, hinges, and the opener peaks.
- Measure spring tension by observation, not by touch. A technician looks at the coil gap spacing along the spring to check for even winding. Uneven gaps mean the spring is loading unevenly; if it’s close to the end of its travel and looking flattened, it’s a candidate for replacement before failure.
- Inspect the cables and drums. Look for fraying at each cable end, kinks, rust on the wire, and any cable that’s already off its drum groove. Any one of those means the cable is a failure risk and the door shouldn’t be used.
- Check the track alignment and level. A good check uses a level on both vertical tracks and a straightedge along the radius of the horizontal track. Even a small bend in the radius section causes roller wear and can derail the door.
- Verify opener settings. Force settings, travel limits, and safety reverse are re-verified. Opener force settings are not a “set once and forget” thing. They drift as the door gets slightly heavier through the year.
- Inspect the opener’s rail, chain or belt, and trolley. Chain slack, belt wear, and trolley glide all need a look. A dry trolley on a LiftMaster or Chamberlain unit is one of the louder failure points in the whole system.
- Check the door’s structural panels and hinges. Look for bent panels, popped rivets, cracked hinges, and loose bottom brackets. A bent bottom panel is often the first sign someone backed into the door and didn’t tell you.
A full annual inspection is the point at which the routine tasks and the mechanical work come together. Our technicians have up to 14 years of experience on these systems, and they’ll tell you that most of the emergencies they respond to would have shown up at least one annual inspection earlier.
Which Lubricants Go Where and What Never to Use
Use the right product on the right part and your door will run quieter and last longer. Use the wrong one and you’ll spend the next six months chasing squeaks, sticky rollers, or a spring that’s picked up grit. This section is the practical, product-level part of the checklist.
- Torsion springs: a dedicated garage door spring repair-grade silicone or lithium spray, applied lightly to the coil and to the bearing plate. Never WD-40. Never motor oil. Never a general-purpose household lube.
- Hinges and pivot points: white lithium grease in a tube or a small dab of silicone paste. Applied at the knuckle, wiped after.
- Rollers and their stems: a drop of light machine oil or silicone spray on the stem only, or a small dab of white lithium grease on a sealed bearing roller. Never on the track.
- Chain-drive opener chains: chain and cable lube, not oil. Oil on a chain flings off onto the door panel and the ceiling.
- Belt-drive opener belts: nothing. Belt drives are meant to run dry; lubricant actually causes them to slip and wear.
- Photo-eye sensor lenses: a dry microfiber cloth only. Never spray anything at the lens; the housing isn’t sealed.
What Never to Use, and Why
WD-40 is a light solvent and penetrant, not a lubricant, and on a torsion spring it strips whatever protective film is there and then evaporates. What’s left behind is a dry coil that attracts dust and grit, and the spring runs hotter and louder. We’ve seen springs so gummed from repeated WD-40 passes that the drum bearing had to be replaced. The same goes for motor oil on hinges: it works its way down and stains panels and seals. And greasing the track: any product on the track is a mistake. The rollers are what need the attention, not the rail they ride in.
If you’re not sure which product to buy, ask the person at the counter for a garage door silicone or lithium spray, and describe what you’re lubricating. The answer should be one product for springs and hinges, one for chain-drive, and nothing for a belt-drive.
How to Read Cable Tension and Spot Uneven Wear
Cables are the part of the system most likely to take a good door down with them when they fail. Cables are also wrapped under tension around a drum at the top of each side of the door. Do not touch, pull, or re-seat a cable yourself. What you can do is a visual read from a safe distance, and that read is what this section covers.
The check starts with the door closed. Stand inside the garage, well clear of the door, and look up at the two cable drums at the top corners. On each side, the cable should be wound evenly in its spiral groove on the drum. A cable that’s wrapped on top of itself, or that’s slipped off the groove, is a hazard and the door should not be run until a technician looks at it.
Then look at the visible stretch of cable running down each side of the door toward the bottom bracket. Both sides should look symmetric: same number of visible cable strands, same amount of slack (essentially none), same condition. Asymmetry is the sign to watch for:
- One side visibly tighter than the other. The door will feel off-balance even if the spring is healthy.
- Fraying on one side only. Fraying on one cable means that side is doing more work. It’s also the point of failure.
- Kinking or a “birdcaged” section. A kinked cable is a broken cable waiting to happen. Call a technician.
- Rust on the wire, especially near the bottom bracket or drum. Rust thins the wire. Toms River’s road salt finds its way to those exact spots.
- Any visible gap between the cable and the drum groove. This is the drum showing that it’s reaching the end of its wrap, usually because the door’s been riding high or low.
That dry drum we mentioned at the top of this guide is exactly this picture: a drum that’s never been lubricated picks up grit, the cable starts abrading unevenly, and one side of the door begins carrying more load. A few months of that is normal wear. A couple of years of it is the setup for a snapped spring. The drum bearing gets a light silicone pass at every quarterly inspection, and that alone prevents the majority of what we see.
Brand-Specific Notes: LiftMaster, Chamberlain, Genie, and Others
Opener maintenance isn’t brand-neutral. LiftMaster and Chamberlain openers (both built by the same parent brand) use a different force-setting routine than a Genie unit, and the difference matters when you’re verifying that the safety reverse trips at the right moment. Knowing which brand you own changes how you check it.
LiftMaster and Chamberlain openers typically present force and travel settings through a series of button presses and LED flashes on the main control panel. When you adjust force on these, you increase or decrease the number of flashes per step; do it slowly, testing the door between steps. A common check we run: after any travel adjustment, verify that the door still reverses on a 2×4 and that the closing force is light enough that the door stops on a firm hand without pressing down. A Genie opener, by contrast, has its own sequence of limit and force settings through the up/down buttons on the rear panel, and its travel limits and force limits are two separate adjustments. Setting one doesn’t set the other.
On the door and hardware side, brand matters for parts matching. A Clopay panel replacement has to match Clopay profiles and panel gauge, or a section won’t fit cleanly. An Amarr door’s hinge spacing can differ from a Wayne Dalton, which affects which replacement hinges fit. If you’re buying a replacement roller or hinge and you don’t know the door’s brand, check the label on the inside face of the door or the operator’s manual. Getting the brand right saves a return trip.
Because we service all of these brands, we keep notes on the specific checks each one needs. If your door is a Wayne Dalton with a TorqueMaster spring, that system’s maintenance looks different from a standard torsion setup, and it’s worth calling out the model when you schedule. When you contact us for an garage door opener repair, tell us the brand and model if you know it. The technician can then come prepared.
Documenting Each Inspection for Trend Tracking
The part of the checklist almost nobody does is the paperwork. That’s a shame, because it’s what turns a maintenance routine into an actual early-warning system. A single check tells you what a part looks like today. A record of the last five checks tells you which direction it’s heading. A cable that measured “fine” every quarter and then “fraying” this time is a part that’s been slowly giving up for a year. A cable that was already fraying last quarter is a part you should have caught sooner.
You don’t need a formal report. A single page taped inside the garage door opener’s housing or kept with the door’s paperwork does the job. Log these on each pass:
- Date of the check
- Door balance: does it hold halfway?
- Auto-reverse test: passed with a 2×4, or didn’t reverse?
- Photo-eye test: both sensor lights on?
- Lubrication: which parts got product, and what product
- Visible cable condition: even on both sides? Any fraying? Rust?
- Any noises or vibrations, and at what point in the travel they occur
- Any hardware you tightened or marked, and whether the same bolt was loose last time
When a technician arrives, that log is more useful than a description of the current symptom. A trend line across four quarterly entries, for example, lets us see that the door’s closing speed has been creeping up (the opener force setting drifting) rather than lagging suddenly this week. That’s a different, cheaper repair. Bring the log out with your estimate request, and we’ll fold it into the inspection.
You can also do this with the door as a whole: take a photo of the torsion spring assembly, cable ends, and drum on your phone every time you do the quarterly check. The photos cost nothing and give you a year-over-year record without any effort.
Common Mistakes to Avoid
- Greasing the tracks. The track is a rail, not a bearing. Grease on the track collects grit and holds up the rollers. Lubricate the roller stems, wipe the tracks down with a dry rag.
- Spraying WD-40 on the torsion springs. It strips the protective film instead of lubricating. Use a silicone or lithium product meant for springs. It’s one of the top causes of prematurely gummed springs we see across Toms River.
- Adjusting opener force without re-testing reverse. Turn the force up too far and the door won’t stop on a 2×4 or a hand. On a LiftMaster or Chamberlain, small steps and a test after each adjustment. On a Genie, re-check the safety reverse after every limit or force change.
- Ignoring a single frayed cable. A frayed cable is a failed cable. Stop using the door and have it looked at. A cable failure often drags a track section out with it, turning a cable repair into a door repair.
- Doing a spring repair as a weekend DIY. Torsion springs are under load and will cause serious injury if the wrong tool or the wrong technique is used. This is one job where the risk of getting it wrong outweighs any savings.
- Using the wrong replacement part brand. A hinge or panel that doesn’t match the door’s manufacturer won’t fit cleanly and can throw off the door’s balance. Check the label on the inside of the door before you buy.
- Skipping the inspection log. Without a record, every check is a fresh start. With one, you can see a part wearing out before it snaps, which is the whole point.
See the difference
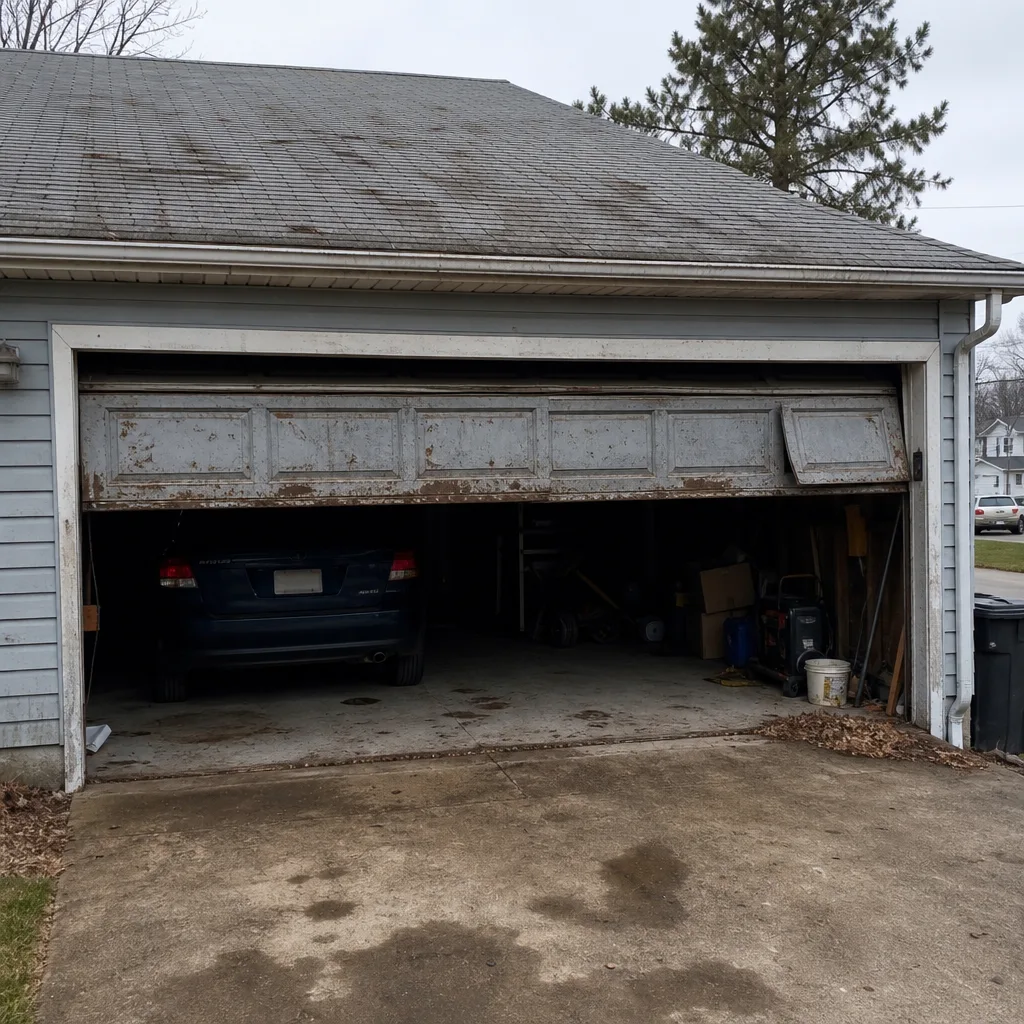 Before
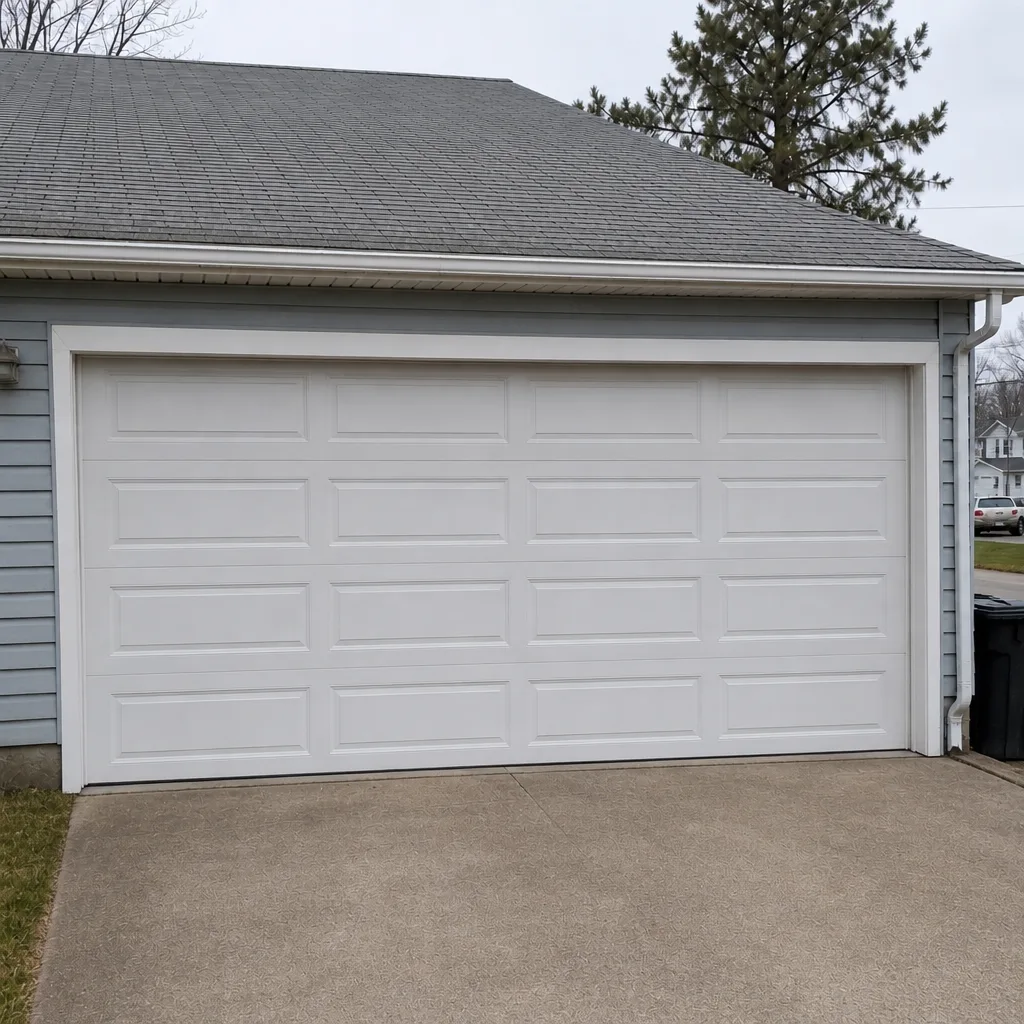 After
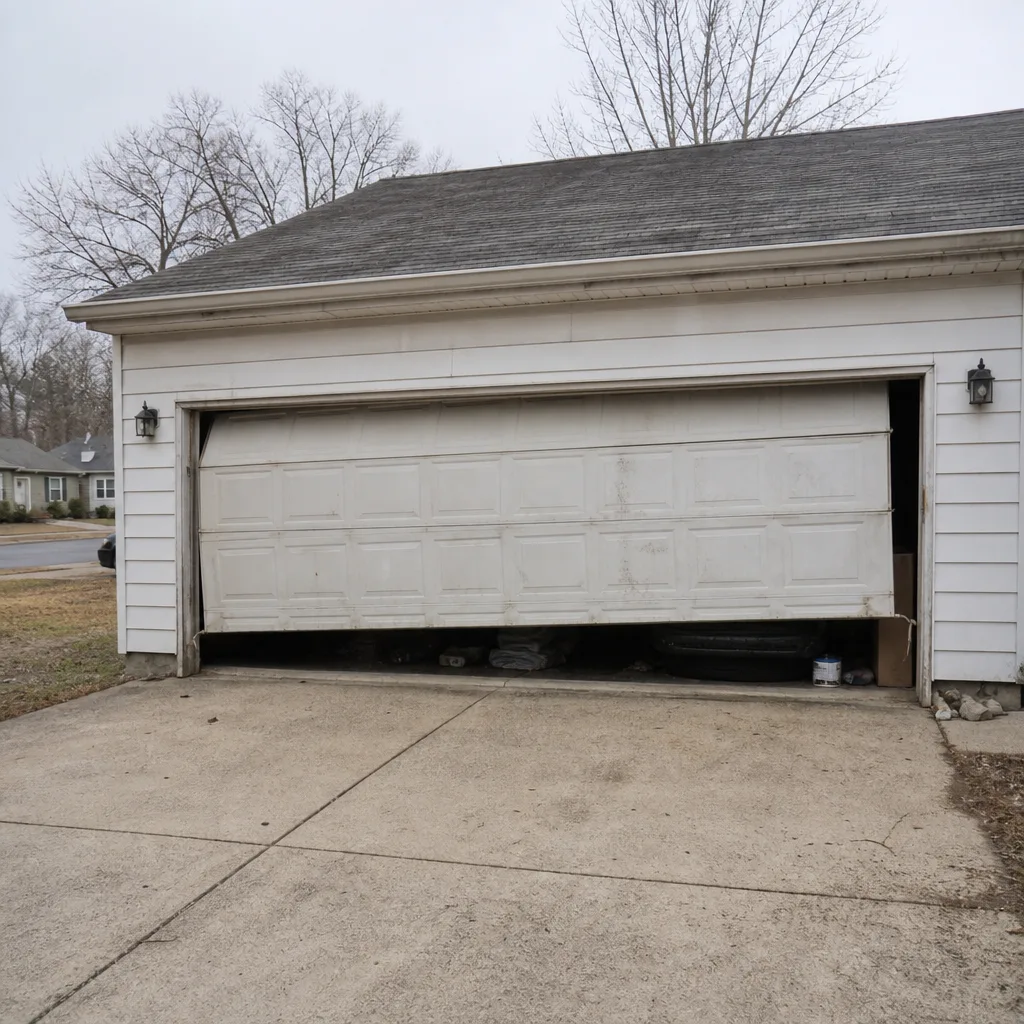 Before
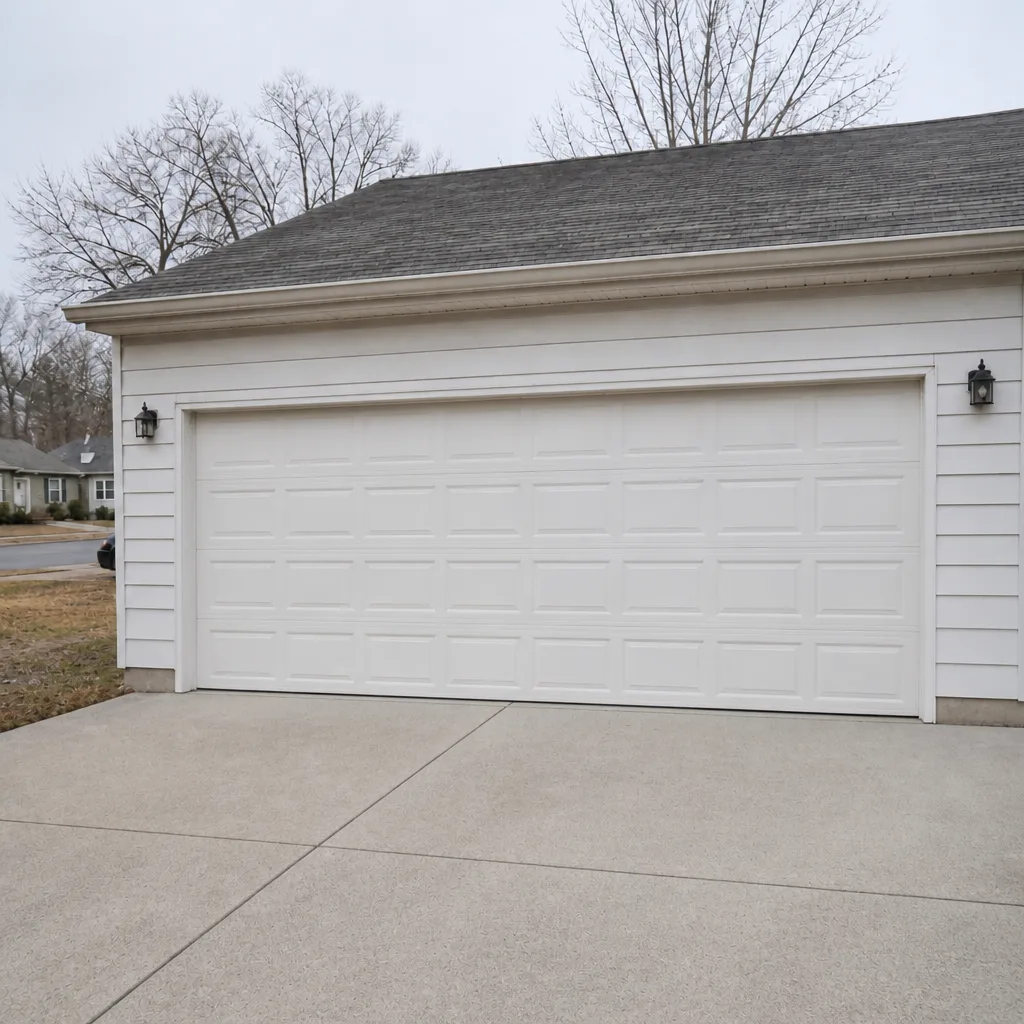 After
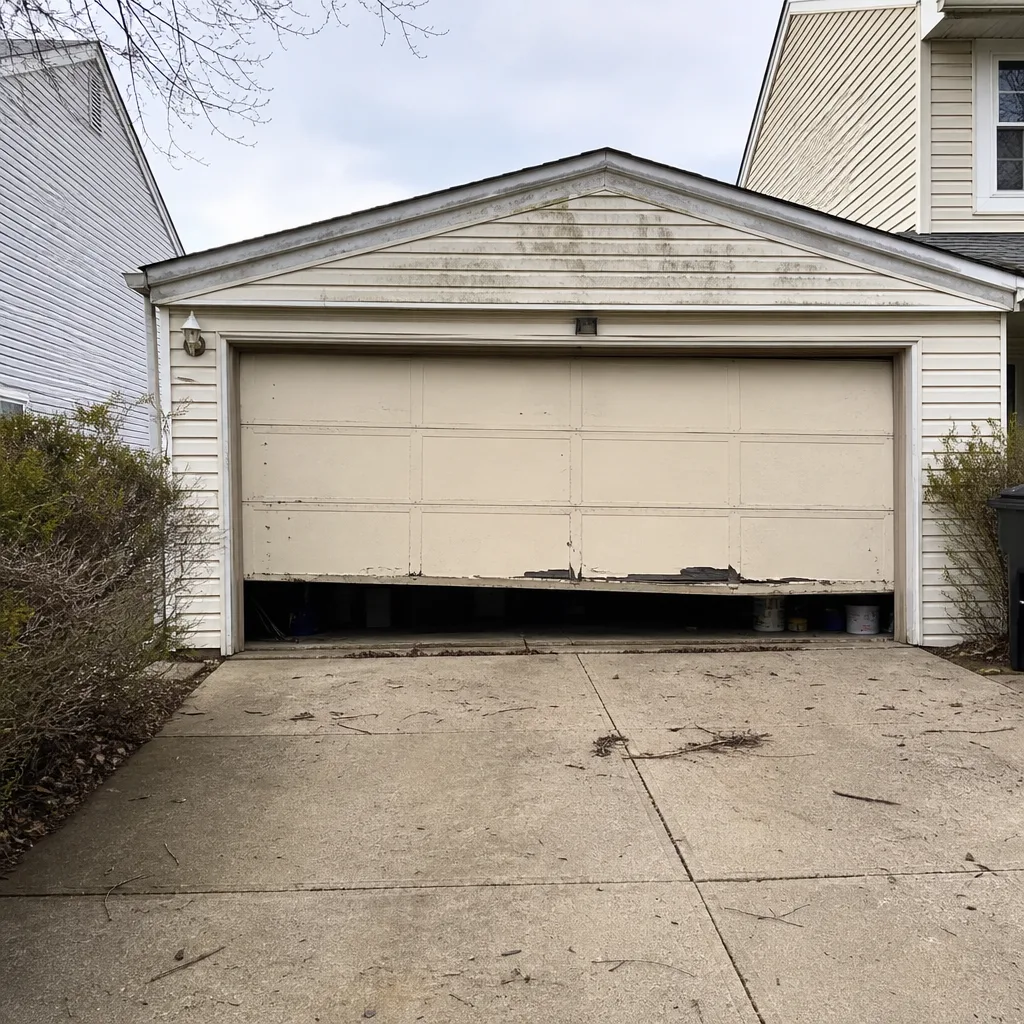 Before
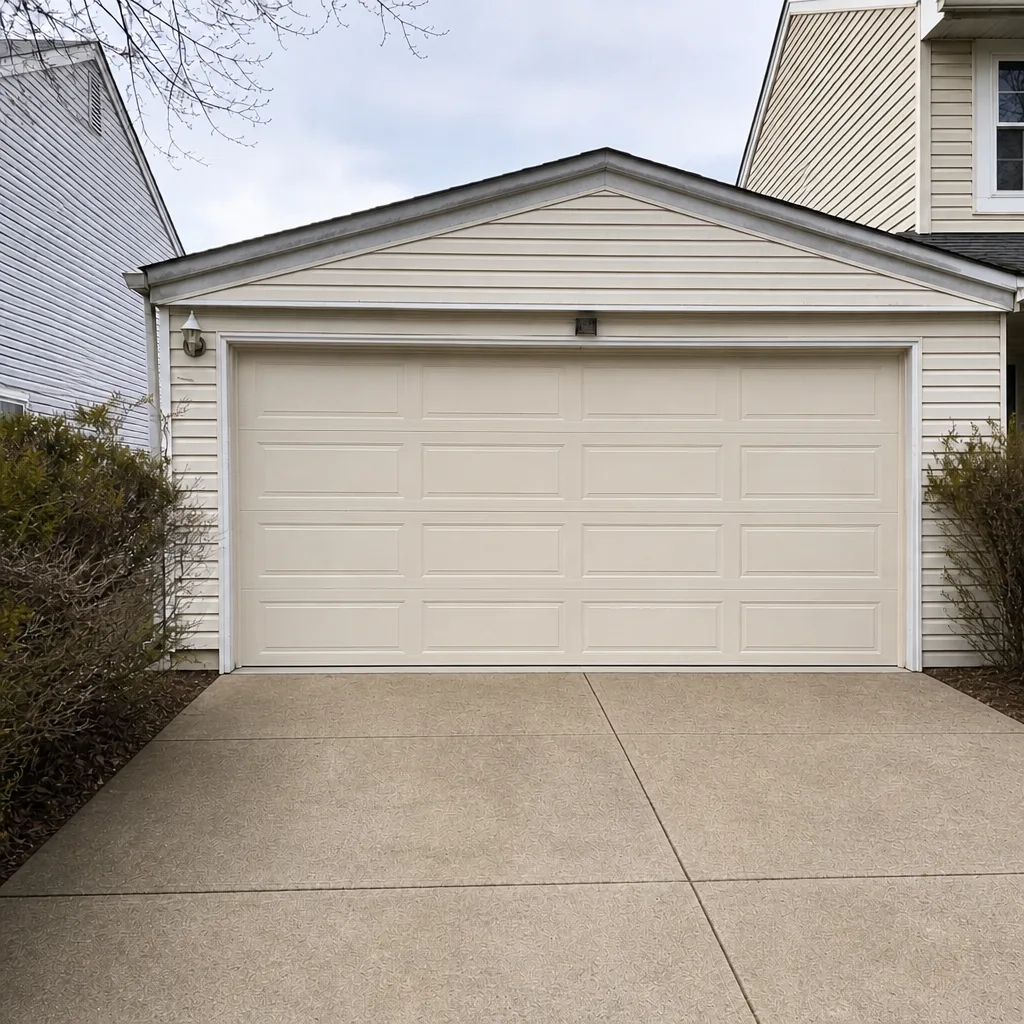 After
When to Call a Professional
Some parts of this checklist belong in your hands and some don’t. Spring work, cable work, opener force setting on an unfamiliar unit, and anything involving the bottom bracket or the track radius all belong with a trained technician. If you’ve found a frayed cable, a kinked cable, a spring with uneven coil gaps, or an opener that no longer reverses on a 2×4, stop using the door and call. A broken torsion spring or snapped cable on a Toms River home isn’t a project to attempt with a set of winding bars from an online video. The energy stored in a wound spring can cause serious injury, and the risk of getting it wrong is not worth the cost of a repair.
Toms River Garage Door Repair Co offers free estimates in Toms River – call (877) 792-5709 to schedule yours. If your door is stuck open or your car is trapped, we also offer emergency garage door service to secure the home and get the vehicle out.
Frequently Asked Questions
Lubricate hinges, rollers, and torsion springs once a quarter, or every three months. Toms River’s humidity and road-salt climate make quarterly lubrication especially worthwhile. Use silicone or lithium spray on the springs and white lithium grease on the hinges, and never use WD-40 on a spring. If you want to do the initial pass with a technician so you know exactly where everything goes, call (877) 792-5709 – estimates are free.
A spring that’s close to failing usually shows uneven coil-gap spacing along the winding, or has a flattened look near the end of its travel. It may also have a visible gap at the anchor plate. If you see any of those, have a technician inspect the spring before using the door. Never try to test or adjust the spring yourself – the coil holds serious stored energy. Call (877) 792-5709 for a quote on a replacement spring.
No. If you’ve seen a cable wrapped on top of itself on the drum, a frayed section, a kink, or a visible gap between cable and groove, stop using the door and call a technician. An uneven or damaged cable can release suddenly and cause injury or derail the door off its track. Call (877) 792-5709 – estimates are free.
The lubrication itself is similar for both (dry belts, chain lube for chains), but the force-setting check is different. LiftMaster and Chamberlain units step force settings through the LED flash sequence on the main control panel. Genie units use separate limit and force adjustments through the rear-panel buttons. Both need the safety reverse re-tested after any change. If you’re not sure which one you have, the model number is on the back panel.
You can safely do the monthly safety checks (auto-reverse with a 2×4, photo-eye test, balance check) and the quarterly lubrication and visual inspection. Anything on a torsion spring, cable, drum, or track radius should be left to a trained technician. Our technicians have up to 14 years of experience working on these systems, and they’ll tell you the same thing. Call (877) 792-5709 for an annual inspection or a quote.
Record the date of each check and the outcome of the balance test, auto-reverse test, photo-eye test, lubrication (which product on which parts), visible cable condition, any noises or vibrations, and any hardware tightened. That log lets a technician see trends, not just today’s symptoms. It also makes it possible to schedule repairs before a part fails. Call (877) 792-5709 to book an inspection with a technician.
The Bottom Line
A garage door is a mechanical system with a schedule, not a fixed piece of the house. The parts that fail first are the ones that were never checked or never lubricated properly. Follow the monthly safety and balance checks, do the quarterly lubrication and hardware pass with the right products, and book an annual full-system inspection so a technician can read the cables, drums, springs, and opener settings that are hard to check yourself. Keep a log. Track trends. And if something looks off on a spring, cable, or drum, stop using the door and call a professional. Toms River Garage Door Repair Co offers free estimates in Toms River – call (877) 792-5709 to book a maintenance inspection or a repair. If your door has failed and you need help securing your home today, our emergency garage door service is available.
Written by the team at Toms River Garage Door Repair Co.